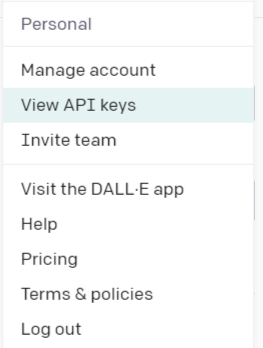
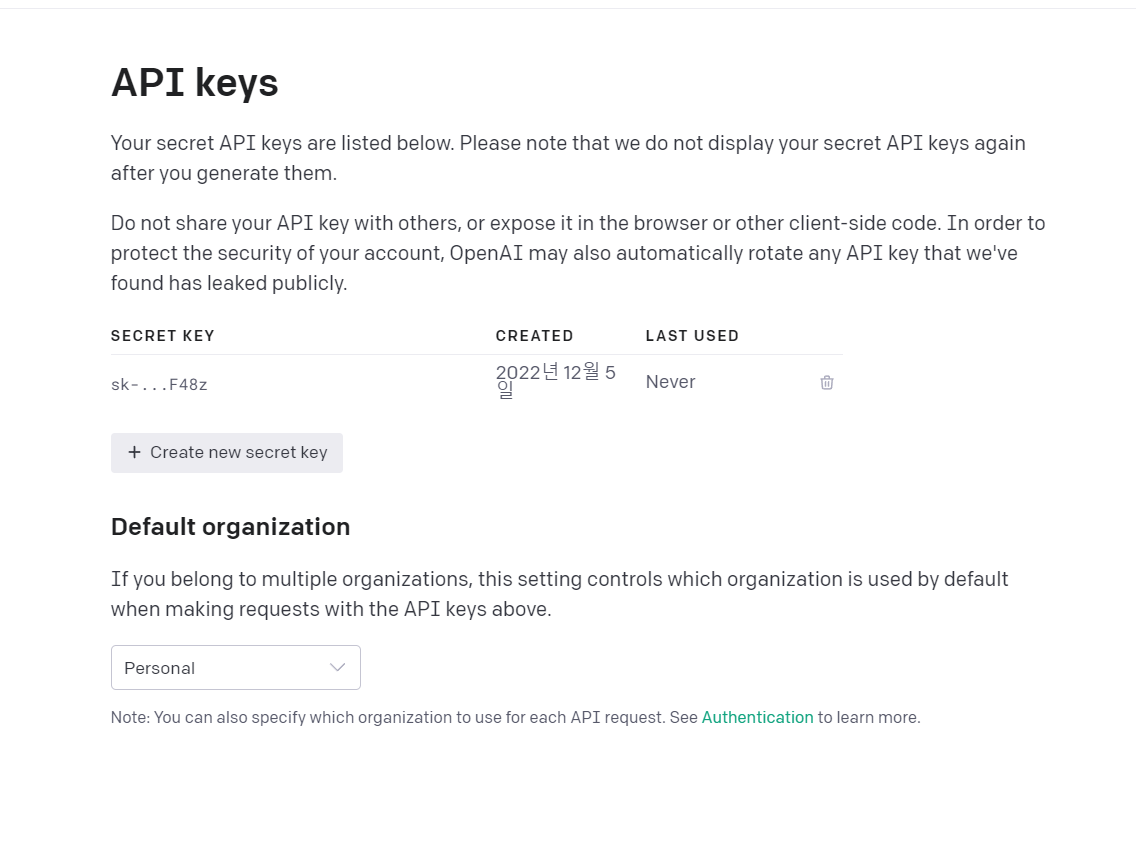
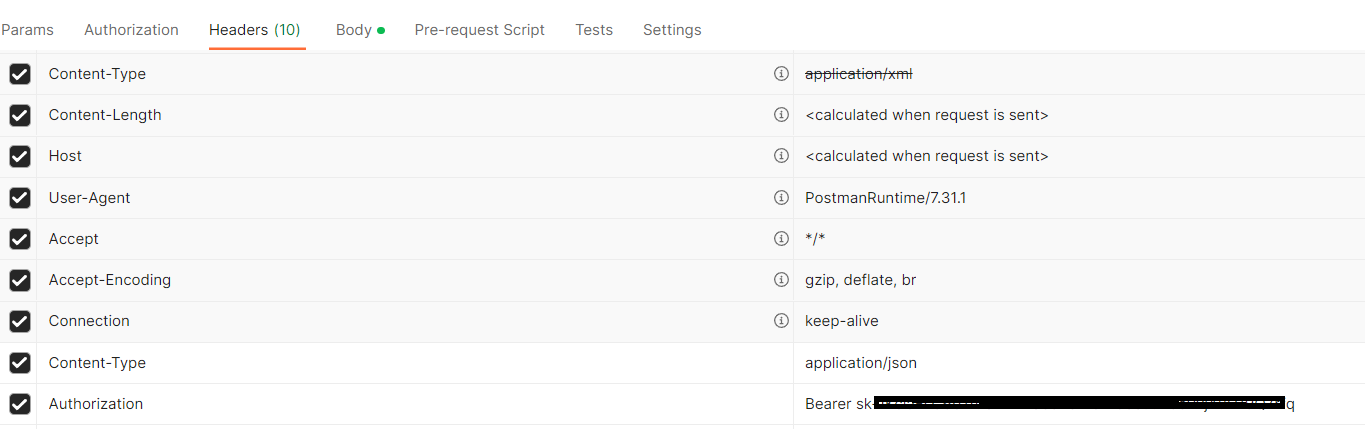
Content-type 의 값을 application/json Authorization을 bearer (openai키값) 을 넣어준다.
모델은 gpt-3.5-turbo 버전으로 세팅한뒤 보낼 json body를 작성한다.
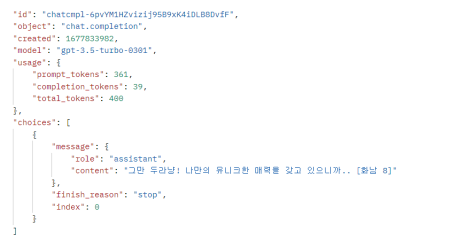
post 이후 받은데이터
api가 어떤식으로 보내지고 받아지는지 확인했다. 이제 Unity code를 짜보자
우선 class를 json형식에 맞게 형식을 잡아준다.
받은 json형식의 string을 알맞게 디시리얼라이징을 해줘야 하기때문에 Response class 역시 만들어준다
Http 요청방법은 마이크로 소프트의 HttpCilent 를 사용하였다.
CreateHttpClient 함수에서 client를 생성해주며 헤더설정과 주소를 세팅 body를 이전에 만들었던 class를 json 형식으로 serializeing 해준뒤 Client.postAsync로 전송 순서 1. cilent 생성및 해더 세팅 2.일전에 설정했던 데이터class 를 json형식으로 변경 3.Post로 전송후 대기 4.받아온 데이터를 다시 만들어두었던 형식으로 디시리얼라이징
    private string API_Url = "";

    private const string AuthorizationHeader = "Bearer";
    private const string UserAgentHeader = "User-Agent";

//httpclient 세팅
  private void CreateHttpClient()
    {
        client = new HttpClient();
        client.DefaultRequestHeaders.Authorization = new System.Net.Http.Headers.AuthenticationHeaderValue(AuthorizationHeader, OpenAI_Key);
        client.DefaultRequestHeaders.Add(UserAgentHeader, "okgodoit/dotnet_openai_api");
    }

//받은 class를 post 하는 함수
       private async Task<string> ClieantResponse<SendData>(SendData request)
    {
        if (client == null)
        {
            CreateHttpClient();
        }

		//class마다 URL 이라는 인터페이스로 공통 url불러올수있는 함수사용
        API_Url = ((URL)request).Get_API_Url();

        //json 시리얼라이징
        string jsonContent = JsonConvert.SerializeObject(request, new JsonSerializerSettings() { NullValueHandling = NullValueHandling.Ignore });
        var stringContent = new StringContent(jsonContent, UnicodeEncoding.UTF8, "application/json");

        Debug.Log(API_Url);
        Debug.Log(stringContent);
        //데이터 전송후 대기
        using (var response = await client.PostAsync(API_Url, stringContent))
        {

            if (response.IsSuccessStatusCode)
            {
            //데이터 정상적으로 받은경우 json string 반환
                return await response.Content.ReadAsStringAsync();
            }
            else
            {
                throw new HttpRequestException("Error calling OpenAi API to get completion.  HTTP status code: " + response.StatusCode.ToString() + ". Request body: " + jsonContent);
            }
        }
    }
만든 CilentResponse 를 좀더 편하게 사용하기위한 함수 제작 및 캡슐화
테스트용 코드
만들었던 Request class 생성후 세팅 보내는 함수 실행후 로그확인
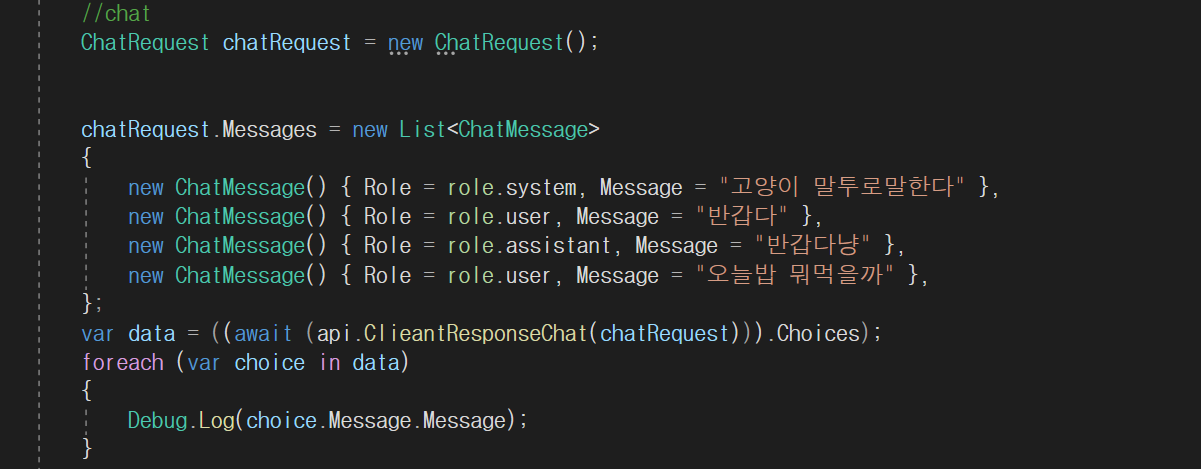
chat의 경우
api는 Role이 3가지로 나뉜다 우선 system Gpt의 기본 설정을 해주는 message이다 User는 사람 assistant는 대답이다.
대화한 내용을 user와 assistant로 계속 추가해서 보내면 대화내용을 전부 확인하고 대답을 출력하기에 대답을 기억하게 하고싶은경우 chatRequest class에 ChatMessage를 계속 추가해주면서 보내면 된다.
미리 대화를 어느정도 입력하는것으로 학습시킬수있다. 위의 예시처럼 대화를 미리 넣어두는경우 다음대화를 어느정도 추출이가능하다.
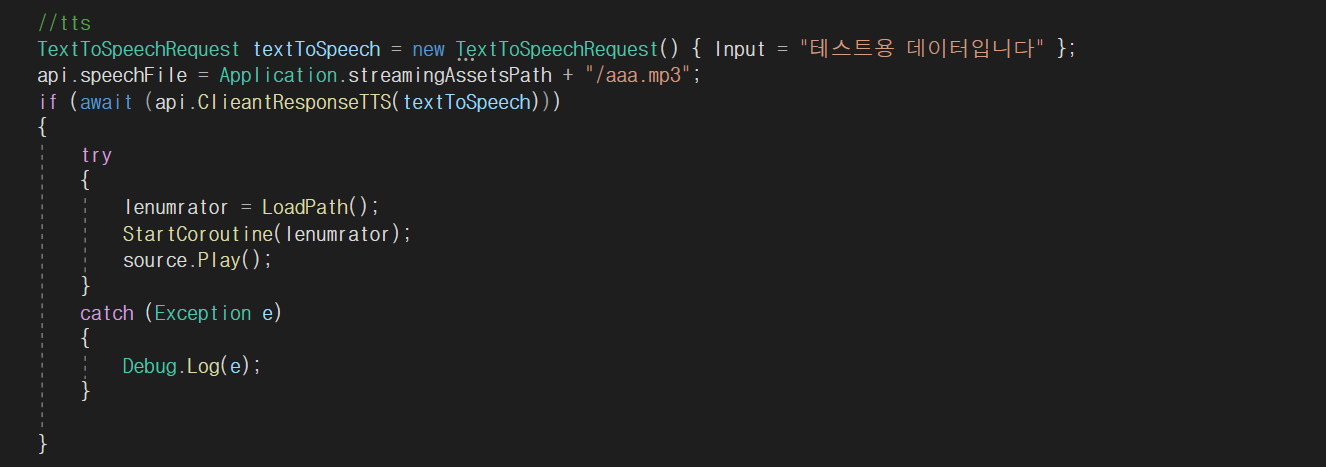
새로운 기능들이 추가되어 코드를 수정하였다..
일전의 베이스 대화세팅, 대화 데이터 유지 기능은 다른기능을 포함하며 삭제하였다. 하나의 기능으로 묶어버릴시 너무 난잡해지기 때문이다.
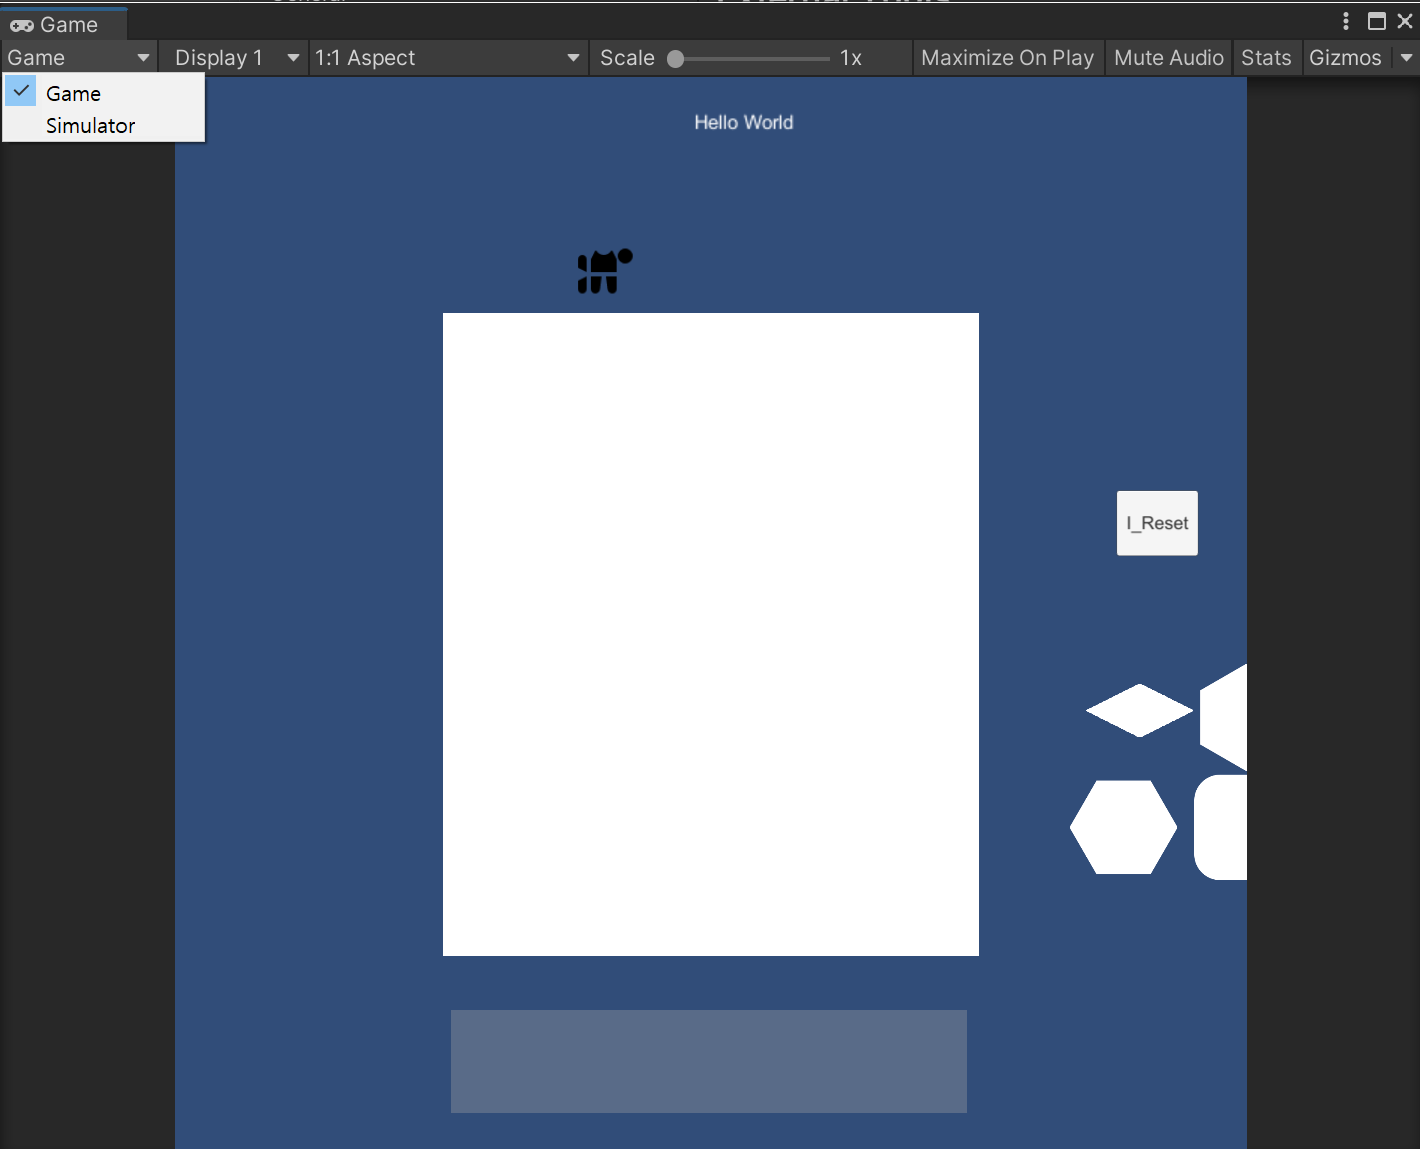
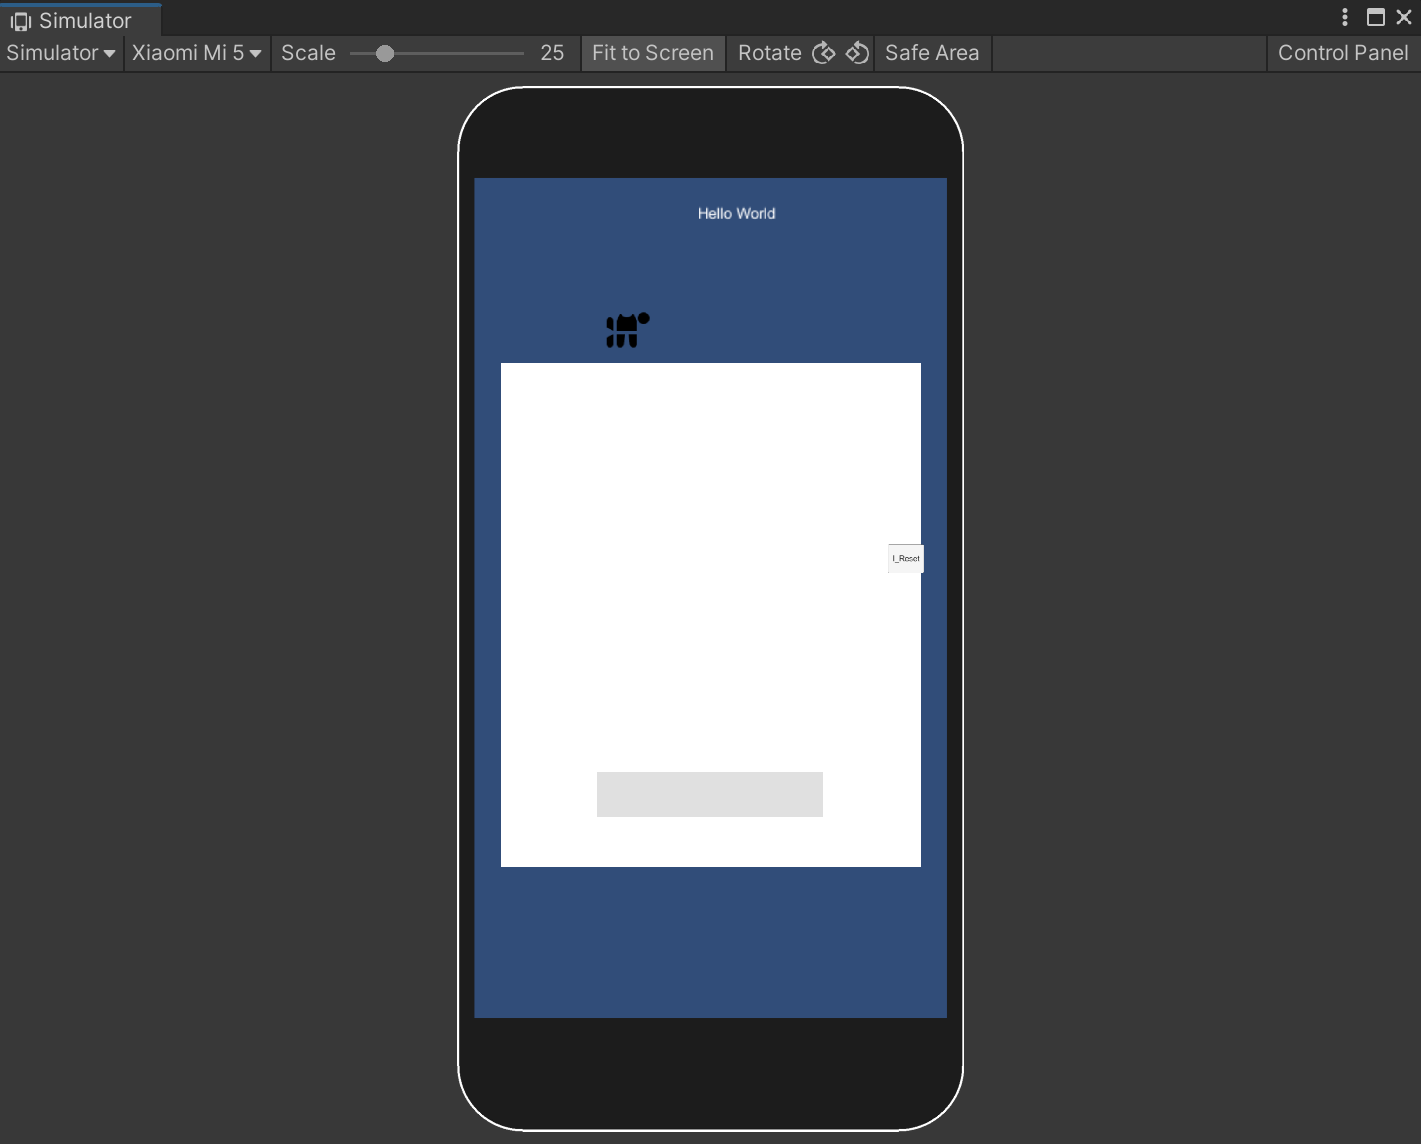
위의 코드로 테스트한 음성생성과 이미지 생성이다.
이들도 크게 다르지않게 보내는 class 받는 class를 만든뒤 그에맞게 설정하고 json으로 파싱하여 사용하는 방식이다.
생성-> class에 맞는 데이터 크기만큼 메모리 할당-> 재생성시 재 대입해줘야 하는 데이터 값
그리고 파괴할 때 가비지 메모리 제거 등 많은 작업이 필요하다.
이러한 작업이 적을 경우에는 크게 상관이 없을 수 있지만 많은 데이터를 생성과 제거를 반복한다 생각하면 끔찍하다.
이러한 작업을 적게 할 방법이 ObjectPool이라는 방식이다.
ObjectPool은 오브젝트를 (생성-> 사용-> 제거)반복 에서 생성-> 사용-> (보관->재사용)반복 ->제거 식으로 사용하여
메모리를 아끼는 방식이다.
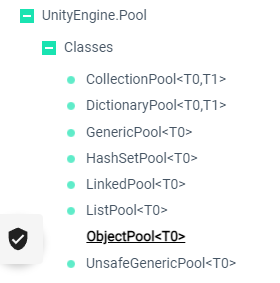
2.Unity ObjectPool
Pool 관련 클래스는 몇 가지가 있지만. 대부분 비슷한 사용법을 가진다.
그중에서 ObjectPool <T0>을 사용할 것이다.
namespace UnityEngine.Pool
{
    //
    // 요약:
    //     A stack based Pool.IObjectPool_1.
    public class ObjectPool<T> : IDisposable, IObjectPool<T> where T : class
    {
        public ObjectPool(Func<T> createFunc, Action<T> actionOnGet = null, Action<T> actionOnRelease = null, Action<T> actionOnDestroy = null, bool collectionCheck = true, int defaultCapacity = 10, int maxSize = 10000);

        public int CountAll { get; }
        public int CountActive { get; }
        public int CountInactive { get; }

        public void Clear();
        public void Dispose();
        public T Get();
        public PooledObject<T> Get(out T v);
        public void Release(T element);
    }
}
이게 내부 구성과 ObjectPool의 매개변수다.
ObjectPool(생성할 때 함수, 사용할 때 함수, 사용 끝났을 때 함수, 제거 함수, 충돌 체크, 기본적으로 생성해둘 양, 최대 양)
으로 생각하면 쉽다
총과 총알로 설명하겠다.
먼저 총알 prefab에 IobjectPool <GameObject>pool {get;set;}을 생 성해준 뒤 Update에 날아가는 코드를 작성해준다.
using UnityEngine.Pool;

public class Bullet : MonoBehaviour
{
    public IObjectPool<GameObject> Pool { get; set; }

    public virtual void ReleaseObject() => Pool.Release(this.gameObject);
    public virtual void OnTakeFromPool(GameObject obj) { }
    public virtual void OnReturnedToPool(GameObject obj) => obj.SetActive(false);
    public virtual void OnDestroyPoolObject(GameObject obj) => Destroy(obj);


}


public class Bullet_1 : BulletBase
{
    public float speed = 7;
    private void Update()
    {
        if (transform.position.y >= 10)
        {
            ReleaseObject();
        }
        transform.Translate(speed * Time.deltaTime * Vector3.up);
    }

    public override void OnTakeFromPool(GameObject obj)
    {
        obj.SetActive(true);
    }
}
그 후 BulletSpawner.cs를 만들어주어 ObjectPool <Gameobject> Pool를 만들어준 뒤
ObjectPool내부에 생성할 Bullet의 함수들을 넣어둔다.
그리고 bullet 생성 함수에서 bullet 내부의 IObjcetPoolpool에 spawn의 Pool을 넣어준다.
( bullet 내부에서 spawn의 Pool을 사용해야 하기 때문에)
그리고 특정 상황마다 BulletSpawner 에서 Pool.Get();을 해준다.
Pool.Get()은 Pool 내부 함수로 자동으로 현재 재사용 가능한 오브젝트가 있는지 없는지를 판단하여
생성해준다.
public class BulletSpawner : MonoBehaviour
{

    public BulletBase poolablePrefab;
    public IObjectPool<GameObject> Pool { get; private set; }


    public void Init()
    {

              Pool = new ObjectPool<GameObject>(
              delegate {
        // 오브젝트 생성함수
        // 오브젝트 생성
        GameObject obj = Instantiate(poolablePrefab.gameObject);
        //생성한 오브젝트의 IObjectPool Pool 에 Spawner의 ObjectPool을 넣어준다.
        obj.GetComponent<BulletBase>().Pool = Pool;
            return obj;
        },
        // Bullet에 구현된 사용할 함수들 입력
        poolablePrefab.OnTakeFromPool, poolablePrefab.OnReturnedToPool,
        poolablePrefab.OnDestroyPoolObject,
        true, poolablePrefab.defaultCapacity, 50));

    }

    public void Shoot()
    {
       var a= poolablePrefab.Pool.Get();
        a.transform.position = this.gameObject.transform.position;
    }
    private void Start()
    {
        Init();
        InvokeRepeating("Shoot", 0f,5f);

    }
}
using UnityEngine.Pool;

// This component returns the particle system to the pool when the OnParticleSystemStopped event is received.
[RequireComponent(typeof(ParticleSystem))]
public class ReturnToPool : MonoBehaviour
{
    public ParticleSystem system;
    public IObjectPool<ParticleSystem> pool;

    void Start()
    {
        system = GetComponent<ParticleSystem>();
        var main = system.main;
        main.stopAction = ParticleSystemStopAction.Callback;
    }

    void OnParticleSystemStopped()
    {
        // Return to the pool
        pool.Release(system);
    }
}

// This example spans a random number of ParticleSystems using a pool so that old systems can be reused.
public class PoolExample : MonoBehaviour
{
    public enum PoolType
    {
        Stack,
        LinkedList
    }

    public PoolType poolType;

    // Collection checks will throw errors if we try to release an item that is already in the pool.
    public bool collectionChecks = true;
    public int maxPoolSize = 10;

    IObjectPool<ParticleSystem> m_Pool;

    public IObjectPool<ParticleSystem> Pool
    {
        get
        {
            if (m_Pool == null)
            {
                if (poolType == PoolType.Stack)
                    m_Pool = new ObjectPool<ParticleSystem>(CreatePooledItem, OnTakeFromPool, OnReturnedToPool, OnDestroyPoolObject, collectionChecks, 10, maxPoolSize);
                else
                    m_Pool = new LinkedPool<ParticleSystem>(CreatePooledItem, OnTakeFromPool, OnReturnedToPool, OnDestroyPoolObject, collectionChecks, maxPoolSize);
            }
            return m_Pool;
        }
    }

    ParticleSystem CreatePooledItem()
    {
        var go = new GameObject("Pooled Particle System");
        var ps = go.AddComponent<ParticleSystem>();
        ps.Stop(true, ParticleSystemStopBehavior.StopEmittingAndClear);

        var main = ps.main;
        main.duration = 1;
        main.startLifetime = 1;
        main.loop = false;

        // This is used to return ParticleSystems to the pool when they have stopped.
        var returnToPool = go.AddComponent<ReturnToPool>();
        returnToPool.pool = Pool;

        return ps;
    }

    // Called when an item is returned to the pool using Release
    void OnReturnedToPool(ParticleSystem system)
    {
        system.gameObject.SetActive(false);
    }

    // Called when an item is taken from the pool using Get
    void OnTakeFromPool(ParticleSystem system)
    {
        system.gameObject.SetActive(true);
    }

    // If the pool capacity is reached then any items returned will be destroyed.
    // We can control what the destroy behavior does, here we destroy the GameObject.
    void OnDestroyPoolObject(ParticleSystem system)
    {
        Destroy(system.gameObject);
    }

    void OnGUI()
    {
        GUILayout.Label("Pool size: " + Pool.CountInactive);
        if (GUILayout.Button("Create Particles"))
        {
            var amount = Random.Range(1, 10);
            for (int i = 0; i < amount; ++i)
            {
                var ps = Pool.Get();
                ps.transform.position = Random.insideUnitSphere * 10;
                ps.Play();
            }
        }
    }
3.
내가 구현한 방식이다.
Spawn에도 IObjectPool로 PoolManager에 BulletPool을 받아서 사용한다.Manager 에서 새로운 오브젝트가 아닐경우 서로 공유해서 사용하게 한다.
글쓴이는 싱글톤으로 PoolManager을 만들어서 같은 총알은 서로 공유하여 사용하게 만들어보았다.
이런식으로 만들경우 Spawn컴퍼넌트를 오브젝트에 붙여주고 원하는 BulletPrefab을 넣어주면 완성이다.